Introduction
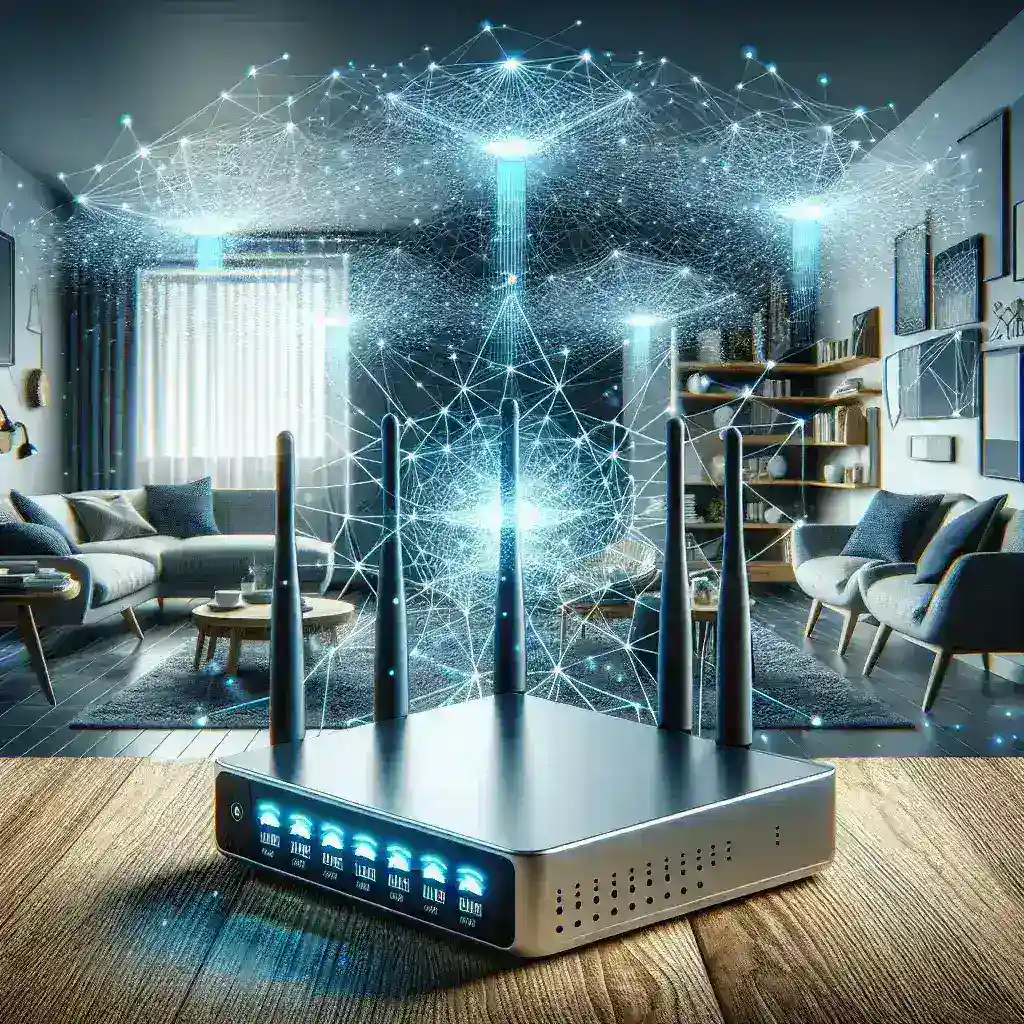
In the age of smart homes and increasing internet usage, having a robust WiFi network is essential. Mesh WiFi systems offer a reliable solution to get seamless connectivity throughout your home. If you’re looking to upgrade from a traditional router setup, this article offers a comprehensive guide on configuring your router for a mesh WiFi system.
Benefits of Mesh WiFi Systems
- Seamless Coverage: Ensures strong signals in every corner of your home.
- Easy Management: Provides centralized control and management of your network.
- Scalability: Easily expand coverage by adding more nodes.
Components You Will Need
To configure your router for a mesh WiFi system, you’ll require the following components:
| Component | Description |
|---|---|
| Primary Router | Your existing or new router to be used as the primary node. |
| Mesh Nodes | Secondary units to extend coverage. |
| Ethernet Cables | For connecting nodes to each other or the router. |
| Mobile App | App from the mesh system provider for setup and configuration. |
Step-by-Step: Configuring Your Router for Mesh WiFi
Step 1: Position the Primary Router
The first step is to place your primary router at a central location in your home. This ensures the best possible coverage. Avoid placing it near large metal objects or appliances that may cause signal interference.
Step 2: Connect the Primary Router
Connect your primary router to the modem using an Ethernet cable. Power it up and make sure it is functioning and connected to the internet.
Step 3: Install the Mesh System’s Mobile App
Most mesh WiFi systems come with an accompanying mobile app. Download the app on your smartphone or tablet. This app will guide you through the rest of the setup process.
Step 4: Configure the Primary Node
Open the app and follow the on-screen instructions to set up the primary node. This often involves creating a new WiFi network name (SSID) and password.
Step 5: Place and Connect Additional Nodes
Place additional mesh nodes in strategic locations around your home. Ideally, they should be within a reasonable distance from the primary node to ensure strong signal propagation. Plug in the nodes and follow the app’s instructions to connect them to your mesh network.
Step 6: Test the Network
Once all nodes are connected, perform a speed test via the mobile app to ensure optimal performance across your home. Adjust the placement of nodes if necessary to eliminate any dead spots.
Advanced Configuration Tips
Setting up QoS (Quality of Service)
QoS settings help prioritize bandwidth for specific devices or applications, ensuring they get the necessary speed for optimal performance. Navigate to the QoS settings in your mobile app and configure as needed.
Parental Controls
Most mesh WiFi systems offer parental control features. These allow you to restrict access to certain websites and set internet usage schedules for specific devices. You can find these settings in the app under the parental control section.
Guest Network
To keep your main network secure, it’s a good idea to set up a guest network for visitors. This ensures they have internet access without compromising your primary network’s security. Enable the guest network feature through the app and set a separate password.
Troubleshooting Common Issues
Intermittent Connectivity
If you experience intermittent connectivity, try repositioning your nodes for better signal distribution. Additionally, make sure the firmware is updated to the latest version.
Slow Speeds
Slow speeds can be caused by various factors. Run a speed test and check if all nodes are properly connected. If the issue persists, consider rebooting your modem and routers.
App Problems
If the mobile app is not functioning correctly, try reinstalling it or contacting customer support for further assistance.
Conclusion
Configuring your router for a mesh WiFi system can significantly enhance your home’s internet performance. By following the steps outlined in this guide, you can enjoy seamless connectivity, better management, and a more scalable network. Whether you’re setting up for the first time or troubleshooting issues, the right configuration can make all the difference.

