Introduction
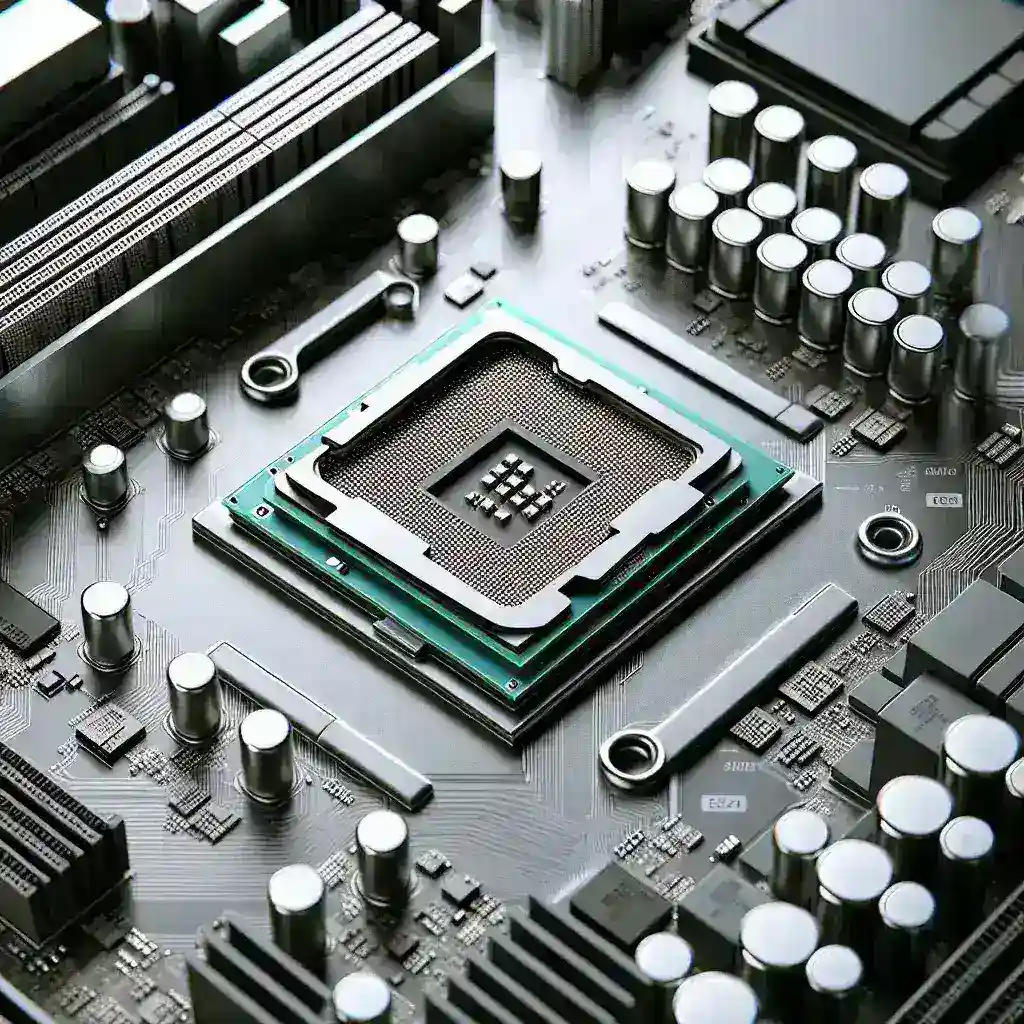
Building or upgrading a computer requires a careful selection of components to ensure optimal performance. A critical component to consider is the central processing unit (CPU), which must be compatible with the motherboard. Understanding how to check CPU compatibility with your motherboard can help prevent issues and improve your system’s stability and efficiency.
The Importance of CPU Compatibility
CPU compatibility is crucial for several reasons:
- System Performance: A compatible CPU ensures that your system runs smoothly and efficiently, utilizing the motherboard’s full potential.
- Stability: Incompatible CPUs can result in system crashes, boot failures, or erratic behavior.
- Ease of Upgrade: Knowing compatibility allows for easier future upgrades without needing to replace the entire system.
Steps to Check CPU Compatibility with Your Motherboard
1. Identify Your Motherboard Model
The first step in checking compatibility is knowing your motherboard model. You can find this information in several ways:
- Check the motherboard’s manual or box.
- Use system information tools like CPU-Z or Speccy.
- Look for it printed on the motherboard itself.
2. Consult the Motherboard’s Manufacturer Website
Manufacturers provide a list of supported CPUs for each model. Visit the official website, and navigate to the support or product page of your motherboard model. Look for a compatibility list or CPU support tab.
| Major Motherboard Brands | Website |
|---|---|
| ASUS | www.asus.com |
| MSI | www.msi.com |
| Gigabyte | www.gigabyte.com |
| ASRock | www.asrock.com |
| Biostar | www.biostar.com.tw |
3. Check the CPU Socket
Motherboards are designed for specific CPU sockets. Ensure your CPU’s socket type matches your motherboard’s socket. Common socket types include:
- Intel: LGA 1200, LGA 1700, LGA 2066
- AMD: AM4, TR4, sTRX4
For example, a CPU designed for an LGA 1200 socket can’t be installed on a motherboard with an LGA 1700 socket.
4. Consider BIOS Compatibility
Even if the CPU socket matches, a BIOS update may be required for newer CPUs to function correctly. Check the motherboard’s product page for BIOS update information and instructions.
5. Evaluate Chipset Support
The chipset on your motherboard determines the compatibility with different generations and models of CPUs. Ensure your motherboard’s chipset is capable of supporting the intended CPU.
For instance:
- Intel Z490 chipset supports 10th Gen Intel CPUs.
- AMD B450 chipset supports Ryzen 2000 and 3000 series CPUs, with BIOS updates for Ryzen 5000 series.
6. Power Requirements
High-performance CPUs may require more power; ensure your power supply unit (PSU) can handle the additional load. Check the power connectors and wattage recommended by the CPU manufacturer.
7. Research Compatibility Forums and Communities
Online forums and communities dedicated to PC building can provide valuable insights and personal experiences from other users. Participating in these discussions can help confirm compatibility and discover potential issues.
Conclusion
Ensuring CPU compatibility with your motherboard is vital for building a reliable and efficient PC. By following these steps: identifying your motherboard model, consulting the manufacturer’s website, checking the CPU socket, considering BIOS compatibility, evaluating chipset support, ensuring power requirements, and researching compatibility forums, you can confidently select the right CPU for your system. Doing so not only enhances performance but also ensures a trouble-free computing experience.

